How to Repair Tile Roof: A Homeowner's Guide
Roof Repairs
Introduction
Welcome to St Louis Premium Roofing's comprehensive homeowner's guide on how to repair a tile roof. In this guide, we provide you with expert tips, techniques, and best practices for effectively repairing your tile roof. A well-maintained tile roof not only enhances the aesthetic appeal of your home but also protects it from the elements. By following the steps outlined in this guide, you can ensure the longevity and durability of your tile roof.
Understanding Tile Roofs
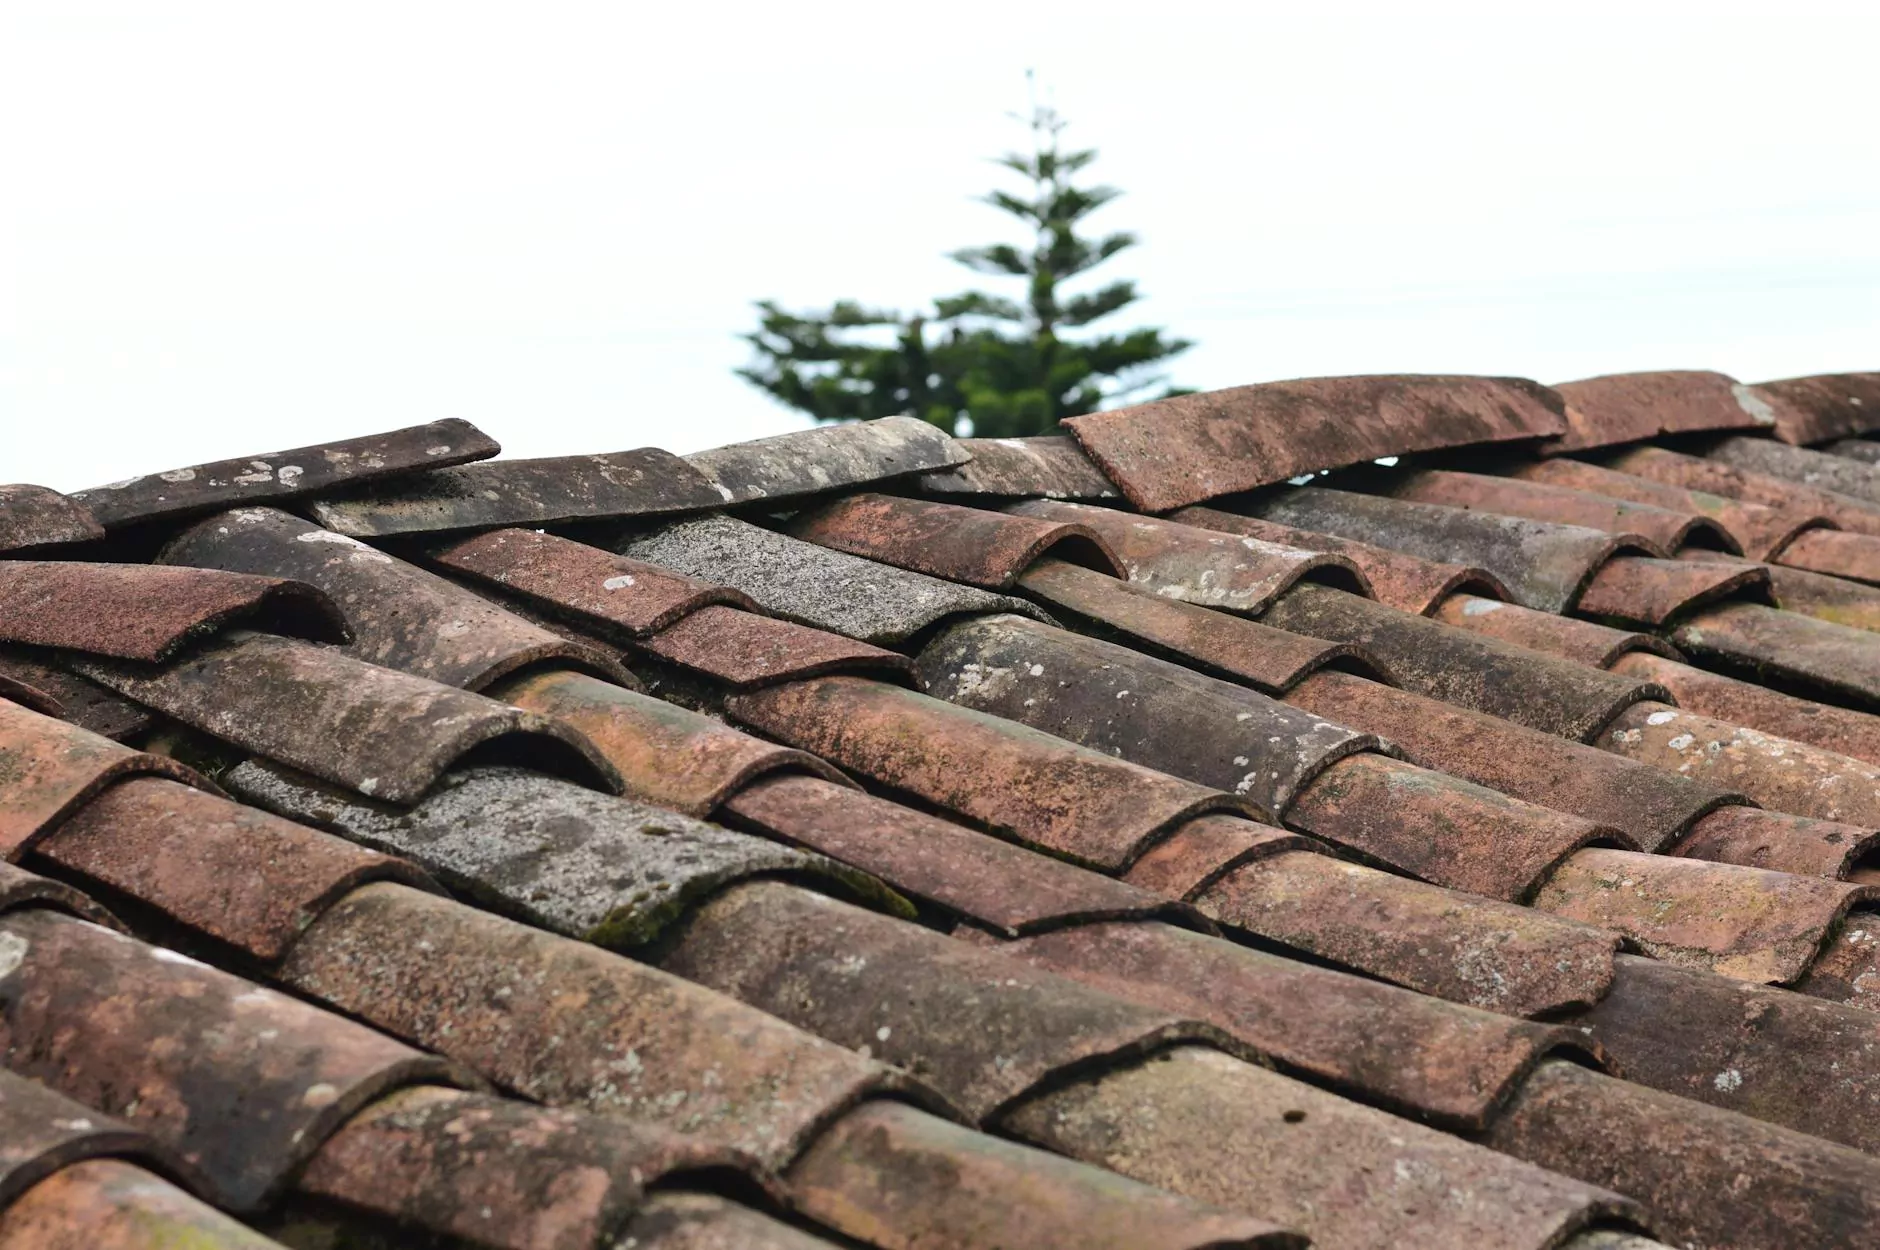
Before delving into the repair process, it's essential to understand the basics of tile roofs. Tile roofs are a popular choice among homeowners due to their durability, longevity, and aesthetic appeal. They come in various materials, including clay, concrete, and slate, each with its unique attributes. Understanding the type of tile roof you have will help you determine the appropriate repair techniques and materials.
Common Tile Roof Issues
Tile roofs, like any other roofing system, are prone to certain issues over time. Some common problems you may encounter include:
- Cracked tiles: Cracks can occur due to age, impact, or extreme weather conditions. It's crucial to identify and replace cracked tiles promptly to prevent further damage.
- Loose tiles: Tiles can become dislodged due to strong winds, improper installation, or age-related issues. Securing loose tiles is crucial to avoid potential leaks and structural damage.
- Broken or missing tiles: Accidents or severe weather events can cause tiles to break or go missing. Replacing broken or missing tiles is essential to maintain the integrity of your roof.
- Moss or algae growth: Extended periods of moisture can lead to the growth of moss or algae on your tile roof. Not only does it impact the aesthetic appeal, but it can also damage the tiles if left untreated.
Tools and Materials
Before starting your tile roof repair project, it's important to gather the necessary tools and materials. Here's a list of items you may need:
Tools:
- Safety equipment: Safety goggles, gloves, and a sturdy ladder.
- Roofing hammer: A specialized tool for removing damaged tiles and securing replacements.
- Tile nibblers: Used to make precise cuts on replacement tiles to ensure a proper fit.
- Tile pry bar: Helps in gently prying up and removing tiles without damaging surrounding ones.
- Chalk line: Used to ensure proper alignment during tile installation.
Materials:
- Replacement tiles: Always purchase extra tiles to have on hand for future repairs.
- Mortar mix: Essential for securing tiles in place.
- Roofing nails: Stainless steel or galvanized nails for securing tiles.
- Roofing cement: Used to fill gaps and prevent water penetration.
- Roofing underlayment: Provides an additional layer of protection under the tiles.
Step-by-Step Tile Roof Repair Process
1. Safety First
Prioritize safety by wearing protective gear such as goggles and gloves. Ensure the ladder is stable and placed on solid ground. Always work in clear weather conditions to avoid accidents.
2. Inspection and Preparation
Thoroughly inspect your tile roof for any damage, including cracked, loose, or missing tiles. Note down the areas that require repair and gather the necessary tools and materials.
3. Tile Removal
Start the repair process by gently prying up the damaged tile using a tile pry bar. Be careful not to damage neighboring tiles in the process. Once removed, inspect the area underneath for any additional damage or signs of moisture.
4. Replacement Tile Installation
Apply a layer of roofing cement to the area where the replacement tile will be installed. Carefully position the replacement tile, ensuring it aligns properly with the surrounding tiles. Secure it in place using roofing nails.
5. Grouting and Sealing
Fill any gaps between the tiles with roofing cement, using a caulking gun or trowel. This will prevent water penetration and ensure a watertight seal. Smooth out the cement for a seamless finish.
6. Moss and Algae Treatment
If you notice moss or algae growth on your tile roof, it's important to address it. Use a specialized moss and algae treatment solution, following the manufacturer's instructions. Apply the treatment evenly, targeting the affected areas.
7. Ongoing Maintenance
Regularly inspect your tile roof for any signs of damage or issues. Clean away debris and ensure the gutters are clear to allow proper drainage. Trim any overhanging branches that may pose a risk to your roof during severe weather.
Conclusion
Congratulations! You have successfully learned how to repair your tile roof like a pro. By following the steps outlined in this comprehensive homeowner's guide provided by St Louis Premium Roofing, you can effectively address common tile roof issues and ensure the longevity and durability of your roof. Remember to prioritize safety, gather the necessary tools and materials, and perform regular maintenance to keep your tile roof in excellent condition.
For professional assistance or any further inquiries, don't hesitate to contact St Louis Premium Roofing, the experts in tile roof repair and maintenance.


